WordPress
This website is built on WordPress.
WordPress is a gigantic “content management system” (CMS) platform used by 75 million websites for just about every purpose. Its easy-to-use admin panel, Template & Plugin-based architecture, and open source nature have proven favorable by so many developers. As of January 2021, 39% of the top 10 million websites on the internet use WordPress.
OwnSocial runs on both a WordPress Theme and a WordPress Plugin. You can freely add more Plugins to your website for additional features and functionality, but if you change the theme, your Syndication (automatic sharing) functionality will no longer work with the OwnSocial network.
Log In
WordPress includes a user-friendly Admin Panel for making updates to your site. There are a couple different ways to log in to your site.
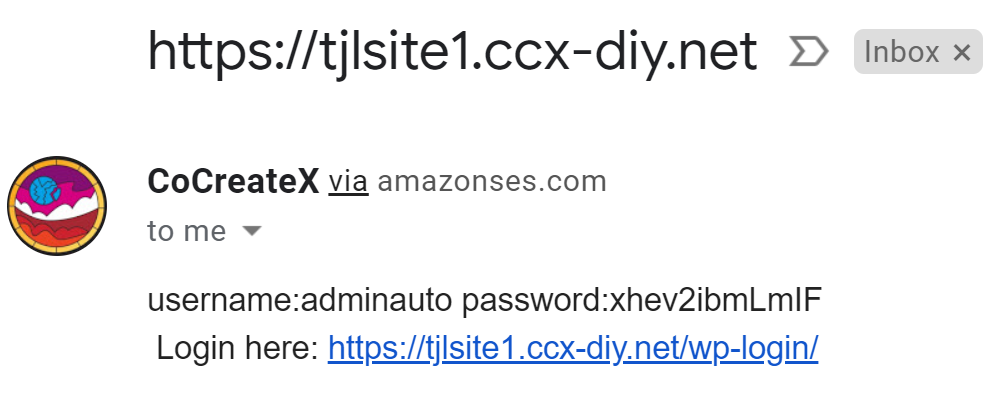
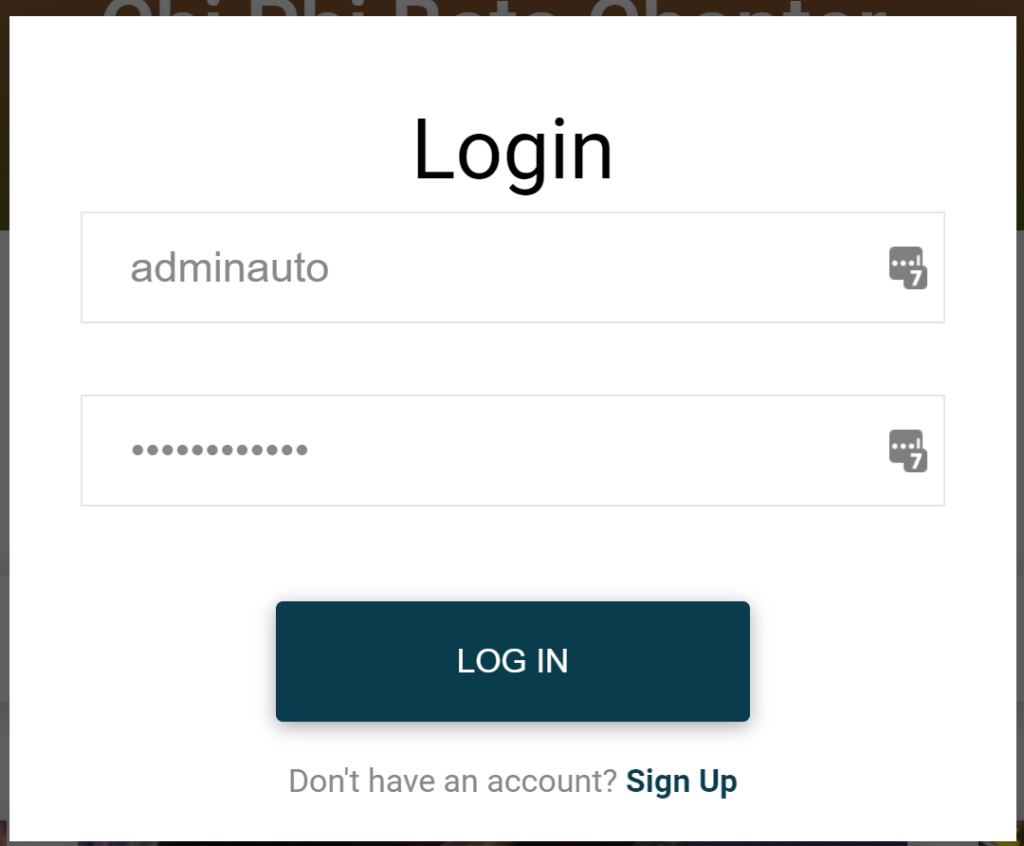
If you used the OwnSocial™ Builder to create your site, you will get an email with adminauto as the username, a password to copy, and a link. Copy the password and click the link to log in for the first time. You can go to [your-site-url]/wp-login any time and enter your credentials there. Alternatively, you can go to your site’s home page and click Login in the upper right hand corner. The interface looks different from /wp-login, but both will take you to the same place after you enter your username and password.

Others can create log ins on your site as well, but the default permissions level for new users is Subscriber. More on Admins & Users below. We will also address how to change your password and/or create a new admin account.
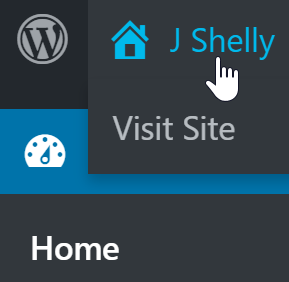
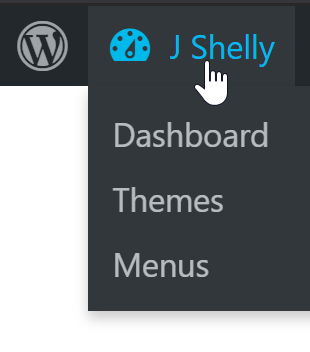
Once logged in, you will have access to the WP Admin Panel via a button in the Top Left of your screen. You can click the Title of your site to toggle between the Admin Panel and the Site Viewer.
Back up
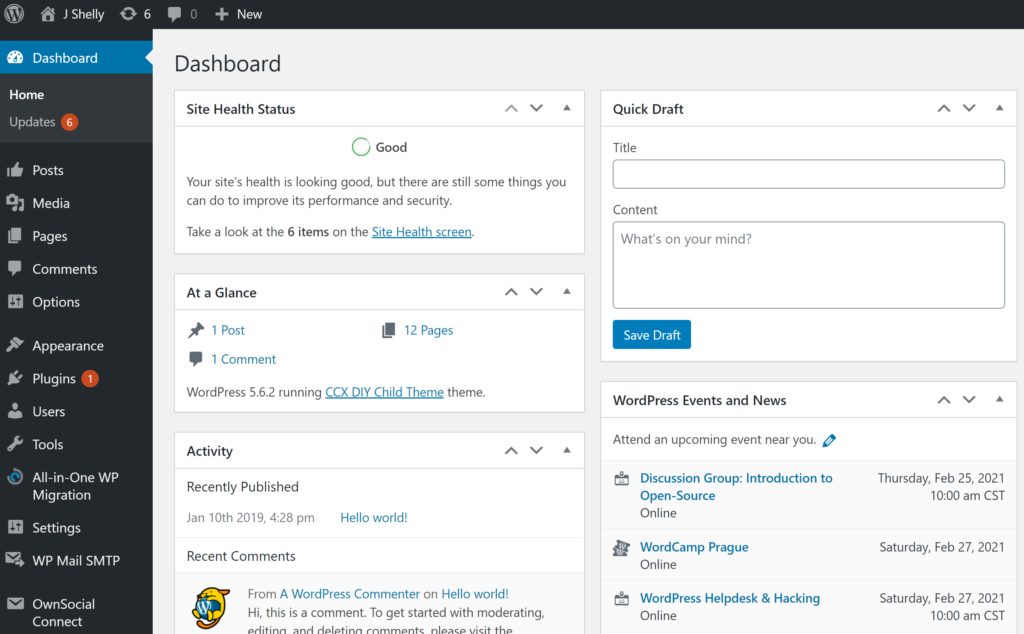
By now, you should be logged into your new site as an administrator, and seeing many choices for adding content, changing, and customizing your site. Before we break out into many different custom paths, we will make a backup of the site as it is now, in case anything goes awry down the road.
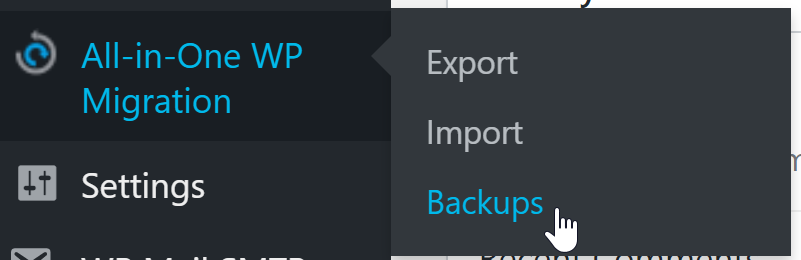
We use a Plugin for backups called All-in-One WP Migration, which is pre-installed on your site. Hover over All-in-One WP Migration in the Left Side Admin Menu, and select Backups.
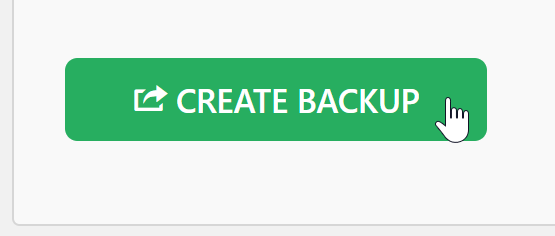
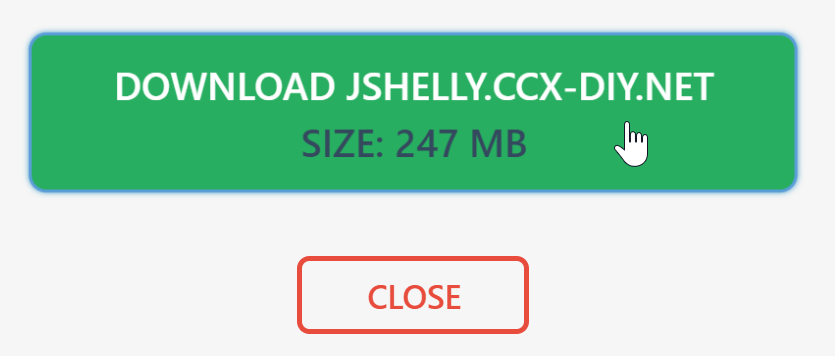
From here, click the Create Backup button, wait a few seconds for it to compile, then Download [Site Name].
Users, Admins & Subscribers
Now that we’ve created a backup, we can start making edits to the site. In the Admin Panel, on the left hand side, you will see a Menu item called Users. Click it.
Note the Administrator Role designation on some of the Users. anna and ccxteam are CoCreateX administrators, there for your support. You have the ability to delete these accounts, revoking access at any time. Just know that our team won’t be able to provide the same level of support if you opt for removing support administrators. You can, however, Add New administrators at any time.
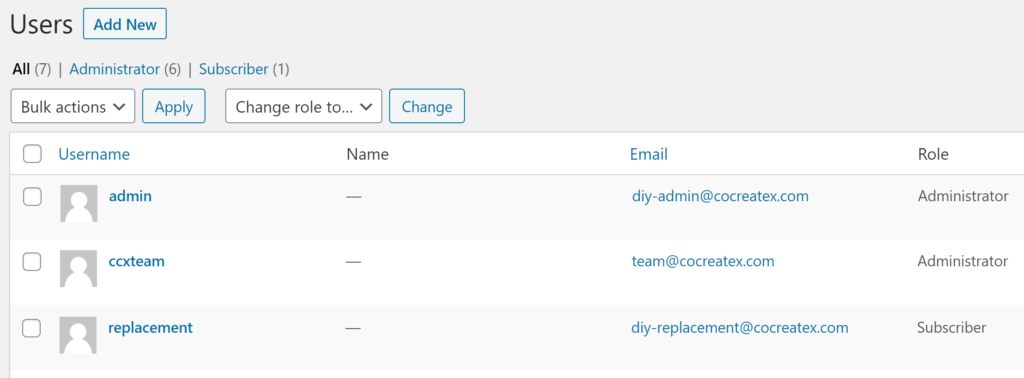
The semantics can be a bit confusing — Keep in mind that “Subscribers” and “Administrators” are both “Users”.
Pages & Menus
Your new site, like any site, has pages. By default, new pages are not automatically “linked” in the Primary Menu. We have linked the Tutorial page there in the Primary Menu for your convenience, until you get more familiar with Pages and Menus, at which point you can readily remove or hide it.
Navigate to the Pages section of your Admin Panel menu, and click Add New. Title it whatever you’d like. For the purpose of this tutorial, I will assume you call your new page “My First Page”. Feel free to add some text, and then click Publish in the upper right hand corner. You will be prompted to click Publish again. Go ahead and do so – It won’t be linked in the Primary Menu anyway.


The Block Editor, sometimes still referred to as Gutenberg, is a fairly intuitive drag-and-drop experience for building pages. Some things like grouping and establishing columns are more complex, but there are lots of videos and resources available to learn. If you like doing everything in html, you may prefer to use the Classic Editor, which is available as a Plugin — just Install and Activate.
After publishing, you can click the link to your new page, or visit any time by navigating to [your-site-url]/my-first-page — or whatever you called it — in your browser.
Now, let’s add it to the Primary Menu. While logged in as an administrator and in the Site View interface (not the admin panel side), click Customize at the top. This is the WordPress Customizer, a friendly interface for changing the look and feel and configuration of your site. Go ahead and Click Menus.


Here, you’ll see three Menus by default — Footer, Mobile, and Primary. First, we’ll edit the Primary menu, which represents a desktop view menu. If you’re comfortable locating the Tutorial through the URL ([your-site-url]/tutorial) or Pages, you can remove the Tutorial from your Primary Menu — this won’t delete the page, it will just make it “un-linked”.

Now that you’ve removed the Tutorial page from your Primary Menu, click Add Items and add in your “My New Page”, or whatever you decided to call it. Don’t forget to click Publish after, to ensure the change goes live.

Editing the Mobile menu is substantially similar. Note, you can nest menu items into a Child/Parent relationship by dragging the Child to the right. This tends to work better for Desktop (Primary) versus Mobile, since there is no hover in mobile UI/UX.

Posts
Posts are the bread and butter of the OwnSocial™ platform. This is what turns your website into a living, interactive space for you, your visitors, and members of your community.
Posts can be created from the Admin Panel, like Pages, but it usually makes the most sense to go in through the front (home page). Navigate to your Home page, and click Post. Here you can write a short message, and you’ll have the option to add a photo, tag a user, and/or select some relevant category tags (more on those later).
Fill out a first Post however you’d like, check the reCAPTCHA box, and Submit.


Your Post will now appear on your Home page Feed, where Users can Comment on it or High Five it (up to 50 times!).

You can Edit or Delete posts in the Admin Panel as needed. Comments can be turned off on individual posts here as well.

Click on or hover over Posts to see Types. These are the category tags that show up on the post form. Feel free to add new Types and/or delete existing types — just be sure to keep “Other”, since our code requires it.
Syndication
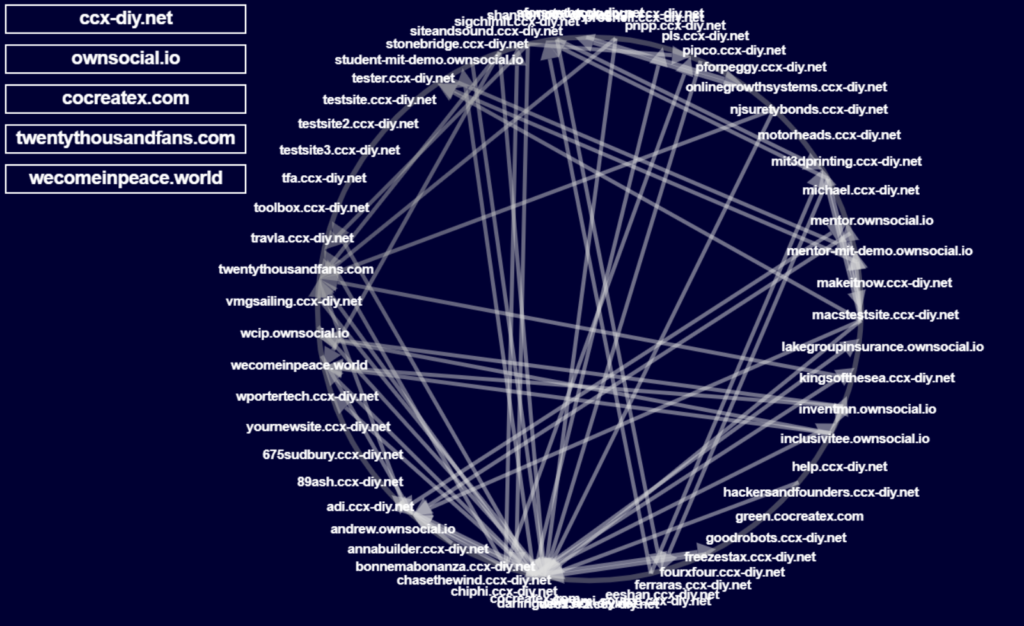
Syndication takes the social aspect of your website to the next level. In addition to sharing content with your network on your site, you can automatically push and pull content to and from other sites on the OwnSocial Connect™ network. The result is a multiplier effect on relevant content that keeps people coming back.
Each relationship is an opt-in handshake, where you can choose which sites’ content to pull in. Click on OwnSocial Connect on the left hand side of the Admin Panel to see the list of sites on the network.

To syndicate posts from other sites on the network, click Subscribe next to the site you’re interested in under OwnSocial Connect > Displaying Posts.

If you don’t want other sites to syndicate or have the option to pull in your site’s posts, you can deactivate the OwnSocial Connect (aka CCX DIY SDP) in the Plugins area — more on plugins below.
*Importantly, the OwnSocial Connect Plugin and the Post functionality is currently theme-dependent. If you change your theme, the syndication plugin and Post function will no longer work.
Plugins
Plugins are the building blocks of the open source WordPress world. Much like your phone’s app store, there are plugins for just about everything. They are all made by different people, and they call come with various levels of usability and security. It’s always recommended to vet plugins and plugin publishers before adding them on your site, and test your site’s functionality after.

Some popular plugins:
All-in-One WP Migration — Good for backups and migrating your site from one WordPress installation to another
Yoast — Integrated SEO for getting your site recognized by search engines
Wordfence — Industry leading security plugin — great for 2-Factor Authentication and the like
Elementor — Extended drag and drop options for your Block Editor
WP Forms — Great for ‘Contact Us’ forms and the like
TablePress — For those who like tables and table-based layouts
WooCommerce — If selling stuff is your jam
Customization
By now, you’ve got the basics of how to build a site, add pages and content, and begin to configure the look and feel. From here the possibilities are endless. You can even change the Theme if you want, through Appearance > Themes > Add New. Just be aware that if you decide to change Themes, CoCreateX–the makers of OwnSocial–won’t be able to provide ongoing support since we don’t know the ins and outs of every Theme in the WordPress repository.
That said, there are many directions you can go with the out-of-the-box OwnSocial theme. We recommend starting with the Customizer, and going down the list, making each field your own. Don’t worry about Membership Settings or Contributions. If you want to get fancy, you can also add custom Additonal CSS in the WordPress Customizer.

There are a few options that aren’t configurable via the Customizer. For example, you may want to make some changes in Options > General and Options > Notifications under the Admin Panel.
Maintenance
WordPress Themes and Plugins are routinely updated by developers. These updates aren’t (typically) automatically pushed to your site, however. Testing your site’s functionality after updates is always recommended. If you can, test using different devices and viewports (different browsers, desktop vs. mobile, etc.). It’s also a good idea to back up your website periodically. We recommend All-in-One WP Migration Plugin for backups.


Migrate / Domain Management
Your website is stored on and hosted by a remote server, and your URL is configured by a Domain Name System server, or DNS. Often, DNS providers are also Domain Registrars, meaning you purchase your domain through them, and then continue to use them for configuring your site URL.
Many people start out with GoDaddy to purchase their domain and set up a DNS, but there are several options, including Google Domains (I like this one), Bluehost, Namecheap, etc.
Whether this site was built with the OwnSocial Builder, or some other way, it has a domain assigned to it to direct visitors to the proper website on the remote server its operating on.
Your website can be effectively “moved” by either migrating (download entire site, re-upload somewhere else) the site itself, or by re-configuring the DNS. We will walk through an example of purchasing a domain, and configuring the DNS using Google Domains.
Domains usually start around $12/year and go up from there. .COM is the most popular, but many other top-level domains (TLD’s) are gaining popularity, like .IO, .APP, .WORLD, etc.
Paying for the actual hosting is usually more costly. This is where site builders like Wix, WordPress.com (**Different from WordPress.org) make their money off of monthly subscription payments.
Each web server costs money on a monthly or hourly basis, and the margins for site builders are actually pretty low. Vertical scaling, and combining multiple websites on common servers, or even common domains (with different subdomains), can help reduce these costs for lower traffic sites. We’re happy to work with groups and get creative to reduce costs. Please feel free to reach out if you have a cost barrier for getting started.
Below is the Google Domains result for “trevorsawesomesite”. There are many options, including some different TLD’s, and varied suggestions.

After purchasing your site, you’ll need to configure your DNS.

Your primary website will require an A Record in the DNS to point to the remote server that’s hosting it. Create this A (Type) Record; Name it “@”, and add the IPv4 address to match your site’s remote server.

Help
OwnSocial is made by CoCreateX. Feel free to contact team@cocreatex.com if you have questions about your OwnSocial site or the OwnSocial Connect Plugin.